


Start With a Safe, Engineered Carport Plan in Draper
For a durable aluminum carport installation in Draper, start with a level site, frost-resistant concrete footings, and an anchoring plan designed for local wind and snow. Confirm permit, setback, HOA, and utility-clearance requirements before work begins. Then use a trained crew to square the frame, secure posts and braces, install roof panels with their UV-protected side facing up, and inspect every anchor and fastener before use.
A lightweight aluminum frame still needs serious support. Proper footings, drainage slope, diagonal bracing, and roof-load planning help protect vehicles and outdoor living areas through Utah winters and changing weather. For broader context on how carports fit into residential shade structures, the Carport entry on Wikipedia explains common design and material considerations.
Awnings Unlimited has served Northern Utah since 1976, building custom aluminum shade structures, patio covers, and carports made for lasting outdoor protection. For aluminum carport installation Draper homeowners can rely on, our team helps match the structure, materials, and installation details to your property.
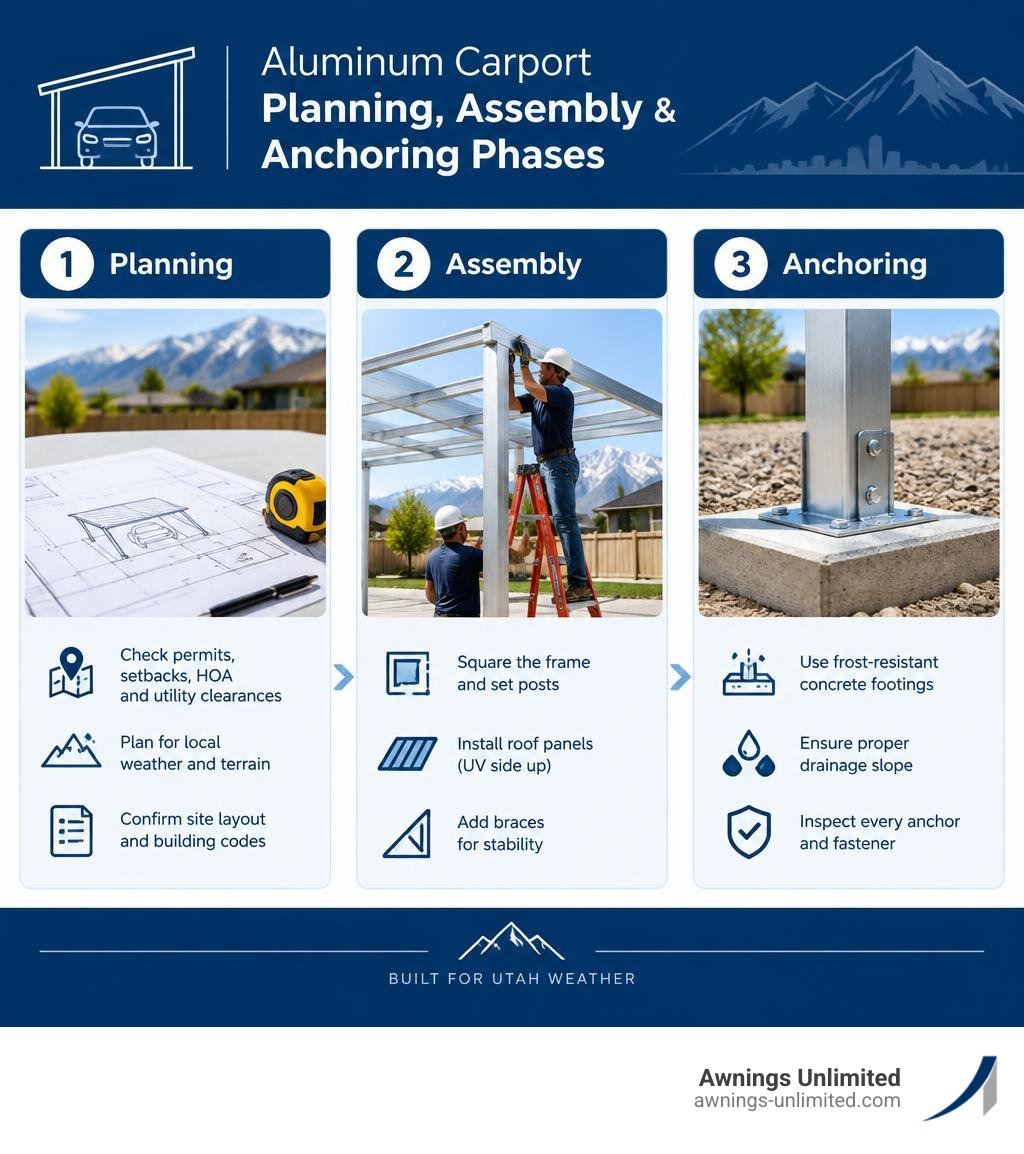
Essential Planning for Aluminum Carport Installation Draper
A seamless installation always starts long before tools touch the ground. Draper sits along the Wasatch Front, meaning properties often face dynamic weather patterns, sloping terrain, and unique microclimates. Navigating local building codes and property boundaries early keeps the entire process smooth and compliant.
When organizing your site layout, our Draper carport and structural awning installation services help navigate local neighborhood requirements and lot boundaries. Reviewing local zoning codes ensures your new shelter adheres to mandatory setback lines—the distance required between your structure and property lines or roadways. Additionally, if your property is governed by a Homeowners Association (HOA), verify architectural guidelines regarding carport materials, color palettes, and roof styles.
Call 811 before excavating to mark underground utility lines, including power, gas, communications, and irrigation pipes. Setting up heavy posts near unverified ground risks expensive repairs and hazardous situations.

Site Preparation for Aluminum Carport Installation Draper
Preparing the ground properly provides a secure base for the entire structure. Skipping thorough groundwork can lead to shifting posts, water pooling, or out-of-square roof lines over time.
Key site preparation steps include:
- Soil Leveling and Clearing: Clear rocks, debris, organic matter, and loose topsoil from the footprint. The area must be graded level to ensure posts sit plumb.
- Frost-Proof Footings: Draper experiences freezing winter temperatures. Anchoring requires digging dedicated post holes below the local frost depth. Standard standalone carports often utilize individual 40×40 cm concrete footings per post, keeping the base anchored during seasonal freeze-thaw cycles.
- Runoff Slope Consideration: Incorporate a gentle surface slope (such as a 15 mm drop along the length) so water drains naturally away from your home’s foundation and parked vehicles.
For a deeper look into ground preparation standards across the state, explore our Utah carport installation resource.
Safety Gear and Essential Tools
Working with structural aluminum components requires both individual safety gear and the right mechanical tools. While aluminum is lighter and easier to handle than heavy structural steel, large panels and long beams can catch wind like sails during assembly.
Essential personal protective equipment (PPE) includes:
- Safety goggles: Protects eyes against metal shavings and falling debris during drilling.
- Cut-resistant work gloves: Safeguards hands when handling sharp aluminum edges and panel profiles.
- Safety shoes with steel toes: Essential when maneuvering upright posts and heavy framework pieces.
Required equipment for assembly:
- Cordless drills/drivers with torque control
- Standard SW-10 metric wrench or socket set
- Phillips screwdrivers
- Spirit level (long-bed and post levels)
- Measuring tape and chalk lines
- Sturdy, stable step ladders
Always assemble aluminum carports with at least three capable adults present. Having dedicated hands to brace uprights while fasteners are driven prevents frame warping and eliminates personal injury risks. Remember: small aluminum fasteners look deceptively simple, but keep small parts safely stored away from children and pets during construction!
Step-by-Step Aluminum Carport Assembly Guide
Erecting a solid aluminum carport requires methodical alignment. Reviewing our comprehensive metal carport installation guide provides additional context on staging parts before you begin.

| Assembly Phase | Primary Tasks | Critical Tools & Focus | Safety Checklist |
|---|---|---|---|
| 1. Ground & Footings | Excavate footing holes; pour concrete bases; align anchors. | Measuring tape, spirit level, string line. | Ensure frost-depth compliance; wear safety boots. |
| 2. Frame Pre-Assembly | Connect longitudinal beams, ridge components, and post sleeves on ground. | Cordless drill, SW-10 wrench, Phillips driver. | Keep work area clear of tripping hazards; wear gloves. |
| 3. Vertical Erection | Raise post uprights; bolt cross connectors; check squareness. | 3-person team, step ladders, magnetic levels. | Never leave upright posts freestanding without support braces. |
| 4. Roof Framing | Secure rafters, roof ridge, and diagonal wind braces. | SW-10 socket, calibrated torque bits. | Do not step on rafter framework; use secure ladders. |
| 5. Panel Installation | Insert twin-wall sheets; align UV-protective exterior side. | Panel clips, stiffening profiles, edge sealant. | Avoid high-wind days; ensure UV side faces the sky. |
| 6. Trim & Drainage | Mount rain gutters, drain outlets, tension braces, and cover caps. | Hand tools, rubber mallet, end-cap sealant. | Final inspection of all structural fasteners and bolts. |
Frame Erection and Beam Assembly
Begin the structural build by joining the primary framework sections. Pre-assembling the longitudinal beams and ridge components on a flat, clean ground surface saves time and ensures bolt holes align without unnecessary metal strain.
Once the longitudinal beam segments are joined:
- Lay out the main post uprights alongside their respective foundation points.
- Carefully raise the long sides of the frame into position using your three-person crew. Two individuals steady the posts while the third loosely bolts the cross connectors into place.
- Check horizontal beams with a spirit level and ensure the vertical posts sit perfectly 90 degrees plumb.
- Measure corner-to-corner diagonally across the frame footprint to verify the structure is completely square before tightening the primary connection hardware.
Rafters, Bracing, and Roof Panel Placement
With the main posts and perimeter beams stabilized, install the roof framing. Fasten the central rafters across the pitch, securing each end to the longitudinal beams.
Next, install diagonal bracing connecting the vertical posts to the overhead beams and rafters. These diagonal supports provide essential triangulation, stopping horizontal sway during heavy winds. Follow careful structural alignment practices for pitched-roof carports to maintain structural integrity throughout the frame.
When fitting twin-wall polycarbonate or aluminum roof sheets:
- Identify the UV-coated side: Manufacturers label the UV-protected side of translucent twin-wall sheets. This side must face upward toward the sun to prevent panel degradation and clouding.
- Slide sheets smoothly: Feed each sheet into the rafter channels, securing them with dedicated stiffening profiles.
- Avoid direct walking loads: Never walk or stand directly on roof panels during installation. Always work safely from step ladders positioned along the perimeter.
Finishing Details and Gutter Integration
The final assembly steps ensure moisture control, structural rigidity, and a clean visual finish. Install the integrated rain gutter system along the eaves of the roofline, locking in end connectors and downward drain outlets to direct rainwater away from parked vehicles and foot traffic.
Complete the assembly with these detailing steps:
- Fasten diagonal tension braces across roof corners to solidify wind resistance.
- Insert protective plastic or aluminum cover caps over exposed screw heads and bolt ends, shielding hardware from moisture and preventing snagging.
- Secure edge profiles to the ends of the roof panels to keep out moisture, dust, and insects.
Structural Reinforcements for Utah Wind and Snow Loads
Draper properties nestled against Corner Canyon and the Traverse Ridge face strong canyon wind gusts and significant winter snow loads. Designing a carport that endures these elements requires robust construction techniques and heavy-duty materials.

Learn more about customizing shade profiles for local microclimates in our custom carports guide.
Engineering Standards for Aluminum Carport Installation Draper
To ensure your carport stands firm through Wasatch Front winters:
- Roof Load Capacities: Aluminum carports should be engineered to support localized snow accumulations without sagging. High-grade systems are rated for roof loads up to 200 kg/m² or higher depending on rafter spacing and extrusion thickness.
- Anchor Systems: The connection between post bases and concrete foundations must resist strong upward and lateral wind uplift. Use heavy-duty, corrosion-resistant concrete wedge anchors or embedded post brackets.
- Frame Triangulation: Enhanced rafter-to-post gusset plates and cross-bracing spread lateral wind pressures evenly across the foundation points.
Explore structural building requirements throughout our state in our comprehensive carports guide for Utah.
Upgrades and Maintenance Considerations
While high-grade aluminum will not rust or rot like steel or untreated wood, regular care preserves its structural performance:
- Post-Storm Inspections: After severe windstorms or heavy snowfall, visually check frame connections, wind braces, and gutter channels.
- Hardware Retightening: Aluminum expands and contracts slightly across seasonal temperature swings. Check and retighten structural fasteners using an SW-10 wrench or torque driver annually.
- Snow Clearing: Although engineered for winter loads, avoid letting dense, icy snow accumulations exceed recommended depths (generally keep accumulations below 10–12 inches). Use a soft foam roof rake to gently pull snow down from the ground without scratching panel surfaces.
- Debris Removal: Clear leaves, twigs, and dirt out of the rain gutters and downspout adapters each autumn to prevent water backup.
For an overview of overall project budgeting and component choices, see our breakdown of carport prices and installation costs.
Frequently Asked Questions About Carport Installation in Draper
How long does an aluminum carport installation take?
A professional installation typically takes between one and two days once the site is prepared. Excavating and pouring concrete footings takes approximately one day, followed by concrete curing time. Once footings are fully set, our crew can frame, secure, panel, and detail a standard aluminum carport in a single working day.
Do I need a permit for a carport in Draper, Utah?
Yes, most detached and attached carports in Draper require a standard building permit to ensure the structure meets municipal setback, zoning, and structural load requirements. Working with an experienced local contractor ensures engineering drawings and site plans are submitted properly to the city building department before work begins.
How much snow load can an aluminum carport handle?
Quality aluminum carports are engineered to handle standard residential snow requirements across Northern Utah, often rated between 30 and 50+ pounds per square foot (or roughly up to 200 kg/m²) depending on rafter spacing and panel design. During heavy winter storms with wet, packed snow, it is best practice to clear excess accumulation using an extension roof rake to maintain a safe load margin.
Conclusion
Investing in a well-engineered aluminum carport protects your vehicles from harsh UV rays, hail, fallen leaves, and winter snowstorms while enhancing your property’s functionality and curb appeal. By choosing durable Alumawood and premium aluminum framing, adhering to local building codes, and implementing proper foundation anchoring, you secure decades of dependable shade and weather protection.
Since 1976, Awnings Unlimited has delivered custom shade structures and carports built specifically for Utah’s climate. Our experienced team handles the entire process—from initial site measurements and engineering to professional, precision installation backed by industry-leading warranties.
Ready to shelter your vehicles with a durable, custom shade structure? Contact our team today to request a custom carport quote tailored to your Draper home.