

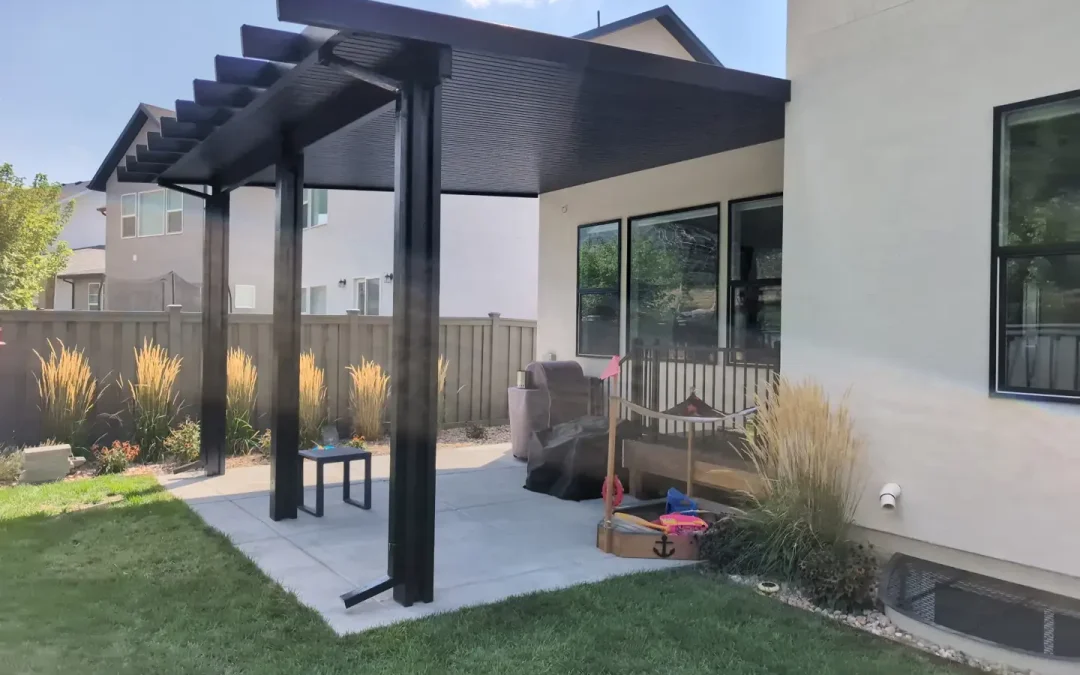
Pergola Installation: A Simple 7-Step Overview
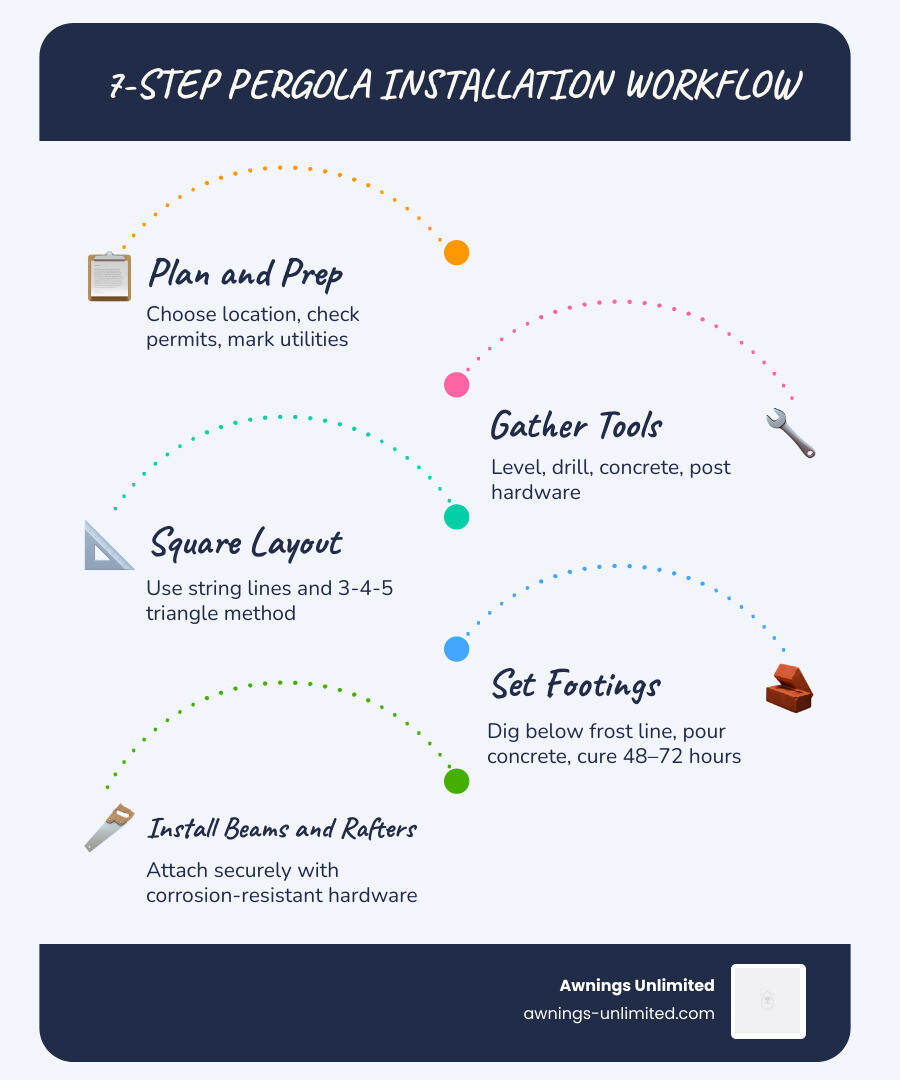
Pergola installation is a straightforward process when you break it down into clear steps. Here’s a quick overview of how it works:
- Plan and prep your site — choose location, check permits, mark utilities
- Gather tools and materials — level, drill, concrete, post hardware
- Square your layout — use string lines and the 3-4-5 triangle method
- Set your footings — dig below frost line, pour concrete, allow 48–72 hours to cure
- Stand your posts — plumb on two faces, brace temporarily
- Install beams and rafters — attach securely with corrosion-resistant hardware
- Add shade slats and final anchoring — finish, seal, and enjoy
Most mid-size pergolas can be completed by two people over a weekend. Professional installs typically take one to two days.
Adding a pergola to your backyard is one of the most rewarding outdoor upgrades you can make. It adds shade, structure, and real value to your home — all while creating a space your family will actually use. But without a clear plan, even a simple build can turn into a frustrating project fast.
The good news? When you follow the right steps, pergola installation doesn’t have to be complicated. Whether you’re planning a freestanding structure over a patio or an attached cover along your home, this guide walks you through exactly what to do — and what to avoid.
At Awnings Unlimited, we’ve been helping Utah homeowners with expert pergola installation and patio cover solutions since 1976, specializing in durable Alumawood materials built to handle everything from blazing summers to harsh northern Utah winters. We’ll guide you through every step so your project starts — and finishes — on solid ground.
Planning and Site Preparation for Pergola Installation
Before you even pick up a shovel, the success of your pergola installation depends on what happens on your clipboard. Planning is where you decide if your new shade structure will be a sanctuary or a source of future headaches.
Site Selection and Sun Orientation
In May 2026, as we look at modern backyard trends, the “where” is just as important as the “how.” We always recommend observing your yard’s light patterns for a day or two. If you want maximum midday shade, an East-West rafter orientation is usually your best bet. If you’re looking for more morning or evening sun, North-South might be preferable.
When Considering Pergola Installation: Here’s What You Need to Know, location affects more than just sun. You need to account for drainage. We suggest maintaining a 1-2% slope away from your home’s foundation to ensure rainwater doesn’t pool around your posts.
Utility Marking and the 811 Call
This is a non-negotiable step. Before you dig a single hole in Salt Lake City, Ogden, or anywhere along the Wasatch Front, you must call 811 to have your underground utility lines marked. Hitting a gas line or a fiber-optic cable will ruin your weekend (and your bank account) much faster than a rainstorm will.
HOA Regulations and Municipal Permits
Do you need a permit? In many Utah jurisdictions, freestanding structures under 200 square feet may not require a formal building permit, but attached pergolas (which are treated as home additions) almost always do.
Furthermore, your Homeowners Association (HOA) likely has its own set of rules regarding height, color, and setbacks from the property line. For example, if you’re in Draper or Sandy, your HOA might require specific Alumawood finishes to match the neighborhood aesthetic. We always suggest checking these rules first to avoid a “tear-down” notice later.
Awnings Unlimited Service Area
We’ve spent decades navigating the local codes from Logan down to Nephi and out to Park City. If you’re feeling overwhelmed by the paperwork, our team provides site assessments and can help guide you through the local requirements specific to the Wasatch Front and Northern Utah.

Essential Tools and Foundation Requirements
You wouldn’t try to flip a pancake with a screwdriver, and you shouldn’t try pergola installation without the right gear. Having the correct tools on hand makes the difference between a structure that stands for decades and one that leans after the first heavy snow.
The Master Tool List
For a successful build, you’ll need:
- Layout Tools: Tape measure, string line, marking paint, and a spirit level.
- Power Tools: A high-quality drill/driver, a hammer drill (if mounting to concrete), and a miter or circular saw.
- Digging Tools: An auger or post-hole digger and a shovel.
- Assembly Tools: Wrenches, a hammer, sawhorses, and clamps.
- Safety Gear: Gloves, eye protection, and a sturdy ladder.
Foundation Types: Concrete Footings vs. Deck Mounts
Your foundation is the most critical part of the build. In Utah, we deal with frost heave, where the ground expands and contracts as it freezes. If your footings aren’t deep enough, your pergola will literally be pushed out of the ground over time.
| Foundation Type | Best For | Key Requirement |
|---|---|---|
| Concrete Footings | Soft ground, soil, or grass | Must reach below the frost line (usually 36-48″) |
| Slab Mounting | Existing reinforced concrete patios | Minimum 4-inch thickness, 3,000 PSI |
| Deck Mounting | Existing wooden or composite decks | Requires 3-inch minimum structural blocking |
| Screw Piles | Difficult soil or near existing pavers | Professional installation recommended |
For those following our Aluminum Pergola Installation Guide, we emphasize using post base hardware that lifts the material slightly off the concrete. This prevents moisture from trapping at the base, which is vital even for rust-resistant aluminum and Alumawood.
The 7-Step Pergola Installation Process
Now that the prep is done, it’s time to build. Whether you’re in Bountiful or Spanish Fork, these seven steps represent the gold standard for structural integrity.
Step 1: Squaring the Layout
Start by marking your post locations. Use the “3-4-5 triangle method” to ensure your corners are a perfect 90 degrees. Measure 3 feet along one side and 4 feet along the adjacent side; the diagonal between those two points should be exactly 5 feet. If it’s not, your pergola will be a trapezoid, and your rafters won’t fit!
Step 2: Setting Footings
In Northern Utah, we recommend digging holes at least 12 inches in diameter and 36 to 48 inches deep to get below the frost line. Fill these with high-strength concrete.
Expert Tip: Let your concrete cure for at least 48 to 72 hours before you try to bolt down your posts. Rushing this step is a recipe for a wobbly structure.
Step 3: Standing Posts
Once the concrete is set, attach your post bases. When standing your posts, use a level to check that they are “plumb” (perfectly vertical) on two adjacent faces. Use temporary 2×4 wooden braces to hold them in place while you move to the next step.
Step 4: Mounting Support Beams
This is where the structure starts to look like a pergola. Beams are the heavy lifters that span between your posts. If you’re doing an attached pergola installation, one side will be a ledger board bolted directly into your home’s structural framing with proper flashing to prevent water leaks.

Step 5: Rafter Placement
Rafters typically sit on top of the beams, spaced 16 to 24 inches apart. For Alumawood systems, these often “click” or bolt into place with precision. If you’re working with wood, you might notch the rafters for a more secure, traditional look.
Step 6: Installing Shade Slats
Also known as purlins or lattice, these slats provide the actual shade. Depending on how much sun you want to block, you can space these closer together or further apart. In our experience, a 50% shade coverage is the “sweet spot” for most Utah backyards.
Step 7: Final Anchoring
Double-check every bolt, screw, and bracket. If you’re using Alumawood, you won’t need to worry about staining, but if you’ve opted for timber, now is the time to apply a high-quality sealant to all cut ends and joints.
Choosing the Right Pergola Installation Method
One of the biggest questions we hear from homeowners in Lehi and Saratoga Springs is: “Should I do this myself or hire a pro?”
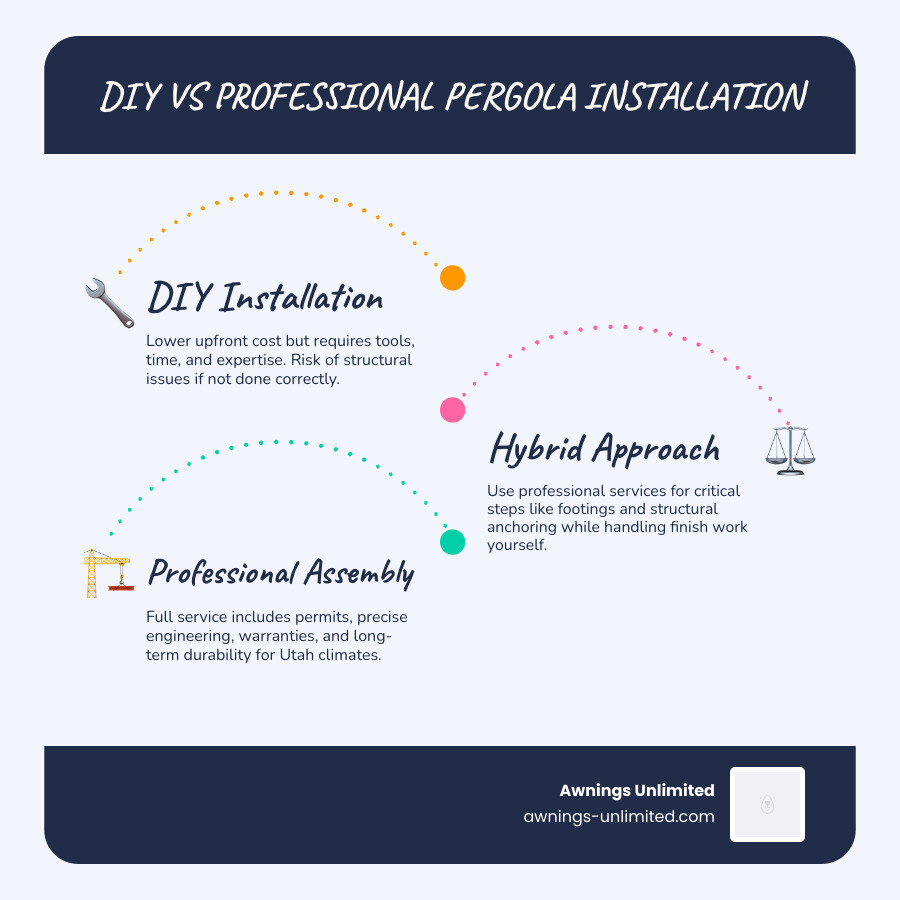
DIY Kits vs. Professional Assembly
DIY kits are popular and can be a fun weekend project for two capable adults. Most kits take between 1 to 5 hours for the actual assembly, though that doesn’t include the time spent digging footings and pouring concrete.
However, Is Custom Pergola Installation Worth the Cost? For many, the answer is yes. Professional installation ensures that the structure is perfectly level, meets all local wind and snow load codes, and—most importantly—is backed by a warranty. At Awnings Unlimited, our professional installs often come with a leading warranty that a DIY kit simply can’t match.
Safety and Structural Standards
When we handle an installation, we aren’t just following a manual; we’re applying decades of structural engineering knowledge. We ensure that every connection is rated for the 120+ mph wind gusts that can come off the Great Salt Lake or down from the canyons in Farmington and Layton.
Customizing Your Pergola Installation for Utah Climates
Utah weather is beautiful, but it’s also brutal. Your pergola installation needs to be ready for the “Greatest Snow on Earth” and the desert heat.
Snow Load and Wind Resistance
A standard “big box” pergola kit might look great in a California showroom, but will it collapse under three feet of heavy, wet snow in Heber City or Park City? We specialize in Alumawood because it offers the beauty of wood with the structural strength of aluminum. It’s engineered to handle significant snow loads without sagging or warping.
Alumawood Durability
The Pergola Installation Trends in Utah for 2026 are leaning heavily toward low-maintenance materials. Alumawood is the MVP here. Unlike wood, it won’t rot, peel, or become a buffet for termites. It stays cool to the touch even in the July heat of St. George or Provo, and it never needs to be repainted.
Year-Round Protection
By adding features like motorized louvers or integrated heaters, you can turn your pergola into a four-season retreat. Imagine sitting under your pergola in Cottonwood Heights during a light October snow, staying perfectly dry and warm. That’s the power of a well-planned, professional installation.
Frequently Asked Questions about Pergola Installation
Do I need a building permit for a pergola?
Generally, if your pergola is freestanding and under 200 square feet, you might not need a permit in many Utah cities. However, if you are attaching it to your house (a “lean-to” style), it is considered a permanent addition and usually requires a permit. Always check with your local building department in places like West Jordan or Tooele before you start.
How deep should pergola posts be set?
In our region, you should dig at least 36 inches deep to get past the frost line. In higher elevations like Park City, 48 inches is safer. This prevents “frost heave” from tilting your structure during the winter-to-spring transition.
Can I install a pergola on an existing patio or deck?
Yes! For concrete patios, the slab must be at least 4 inches thick and in good condition. For decks, you can’t just screw the posts into the floorboards; you must install structural blocking (usually 3 inches of solid wood) underneath the deck boards and bolt through the entire assembly into the frame.
Conclusion
A successful pergola installation is about more than just putting up four posts and a roof—it’s about creating a durable extension of your home where memories are made. From the initial 811 call to the final bolt tightening, every step matters.
At Awnings Unlimited, we take pride in being a Salt Lake City-based family business that understands the unique needs of Utah homeowners. Whether you’re in Bountiful, Draper, or Eagle Mountain, we bring nearly 50 years of expertise to every project, ensuring your Alumawood patio cover or pergola is built to last a lifetime.
Ready to transform your backyard into a shaded oasis? Start your project with a Pergola Order Form today, and let us help you build something beautiful.