


Why Aluminum Pergola Installation Is Worth Getting Right
Aluminum pergola installation is one of the most rewarding upgrades you can make to your outdoor living space — but only if it’s done correctly from the start.
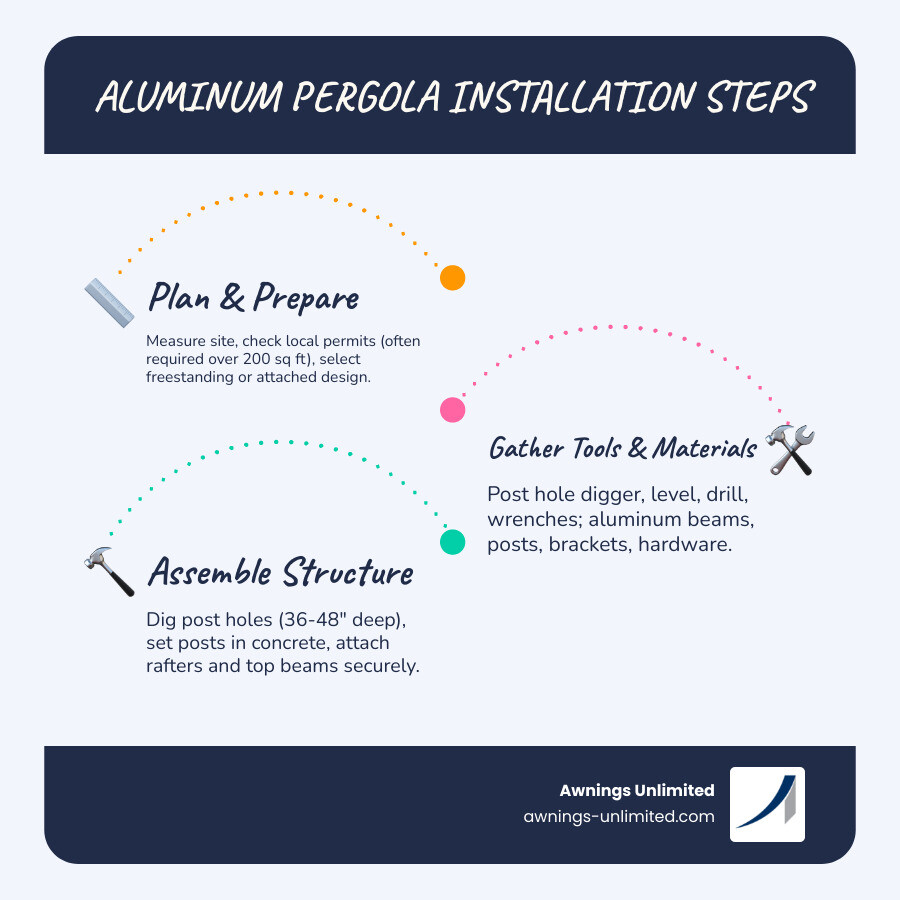
Here’s a quick overview of what the process involves:
- Plan your space — choose location, size, and style (freestanding or attached)
- Check permits — structures over 5m² (roughly 54 sq ft) often require local approval
- Prepare the foundation — concrete pads, piers, or ground anchors depending on your soil
- Assemble the frame — posts, beams, and rafters using a level and power drill
- Install the roof and accessories — louvers, LED lights, screens, or solid panels
- Inspect and tighten — check all connections before use
Most DIY installations take 6 to 8 hours with 2 to 3 people. Professional crews can often complete the same job in less time with fewer headaches.
Aluminum stands out from wood and vinyl because it doesn’t rot, warp, crack, or attract termites — and it requires almost no ongoing upkeep. That combination of durability and low maintenance makes it the smart choice for Utah homeowners dealing with harsh summers and heavy winters.
At Awnings Unlimited, we’ve been installing custom patio covers and pergolas across Northern Utah since 1976, giving us nearly five decades of hands-on experience with aluminum pergola installation using premium Alumawood materials. Whether you’re planning a DIY project or want professional guidance, this guide walks you through everything you need to know.
Planning Your Aluminum Pergola Installation
Before you pick up a drill, you need a solid plan. Successful aluminum pergola installation starts with a thorough site assessment. In the Wasatch Front, we have to consider more than just aesthetics; we have to think about how our harsh mountain climate will interact with the structure.
Start by understanding how sunlight and shade interact with your backyard. Observe your site’s geographic location at different times of the day. A pergola placed too far East might leave you baking in the afternoon Utah sun. You should also take note of nearby buildings or trees that might cast shadows or, conversely, drop debris onto your new roof.

One of the most critical steps is to check with local authorities to understand zoning requirements. Whether you are in Salt Lake City, Draper, or Park City, regulations vary. You’ll need to know about:
- Setback distances: How far the structure must be from your property lines.
- Height restrictions: Especially important for RV carports.
- Snow load capacity: In Northern Utah and Wyoming, your pergola must be designed to bear heavy snow loads.
- Wind load: High-velocity winds coming off the mountains require sturdy anchoring.
For more inspiration on how to tailor your structure to your specific yard, you can explore more info about pergola design options.
Preparing the Foundation for Aluminum Pergola Installation
A solid foundation ensures the pergola withstands weather conditions and remains stable over decades. You can’t simply set an aluminum post on grass and call it a day.
If you have an existing concrete patio, you can often anchor directly to it, provided the concrete is in good condition and thick enough (usually 4 inches minimum). If you’re building on soft ground, you’ll need to dig post holes. In our region, you must account for the frost lines. Digging below the frost line prevents “heaving,” where the frozen ground pushes your posts upward, ruining the alignment of your structure.
For uneven terrain, concrete piers and Simpson Deck Post Fasteners provide excellent stability. You should also ensure a slight drainage slope (about 1% to 2%) so water doesn’t pool around the base of your posts. For a deeper dive into site readiness, check out our guide on considering pergola installation: here’s what you need to know.
Essential Tools and Materials for Structural Assembly
If you are tackling this as a DIY project, organization is your best friend. Most modular aluminum pergolas come with about 80% of the components prefabricated, which simplifies things, but you still need the right gear.
The DIY Tool Checklist:
- Power Drill & Impact Driver: For driving heavy-duty lag bolts.
- Level: This is non-negotiable. Check every post and beam twice.
- Tape Measure: Precision is key for squareness.
- Safety Goggles & Gloves: Aluminum shavings can be sharp.
- Ladders: At least two sturdy A-frame ladders.
- Hex Head Drivers & Sealant: To ensure waterproof connections in gutters.
While DIY can save on labor costs, it is important to weigh the time investment against professional results. Improper installations may lead to structural vulnerabilities, such as instability during strong winds or leaks in the roof system.
| Installation Type | Estimated Cost (Materials + Labor) | Time to Complete |
|---|---|---|
| DIY Kit | $1,500 – $5,000 | 1 – 2 Days |
| Professional Installation | $3,500 – $10,000+ | 4 – 8 Hours |
The table below highlights the cost comparison and helps you decide if is-custom-pergola-installation-worth-the-cost. At Awnings Unlimited, we often find that the precision of a professional crew pays for itself in the longevity of the structure.
Finalizing Your Aluminum Pergola Installation
Once the frame is up and the beams are locked in, it’s time for the “fun” part: the roof and accessories. If you’ve opted for a bioclimatic system, you will install individual louvers into a rack system. This allows you to control sunlight with a remote or manual crank.
This is also the stage where you add the touches that make the space your own. You can string up some fairy lights, install integrated LED lighting, or add motorized zip screens for privacy and wind protection. Don’t forget to check your gutter alignment; aluminum pergolas often feature internal drainage systems that need to be clear of debris and properly sealed with silicone.
Ready to start picking out your features? You can use our pergola order form to see the various custom options available for your Salt Lake City home.
Installation Differences: Freestanding vs. Attached Structures
One of the first decisions you’ll make is whether your structure will be freestanding or attached to your home.
Attached Pergolas (Lean-to Design) An attached pergola uses your home’s structural wall for support on one side. This is a great space-saver and often feels like a seamless extension of your indoor living area. However, it requires careful wall-mounting techniques to ensure the ledger board is flashed correctly to prevent water from entering your home’s siding. It also requires checking that your home’s wall can handle the additional weight and wind load.
Freestanding Pergolas These can be placed anywhere in your yard—by the pool, over a fire pit, or in a garden nook. They require four (or more) posts, which means more foundation work. There are many top reasons to choose a free-standing pergola for your outdoor space, including the freedom to design a “retreat” away from the main house.
If you are installing a structure for a vehicle, such as an RV carport, keep in mind that height requirements are much higher than a standard patio cover. You’ll need to ensure the vertical clearance accounts for rooftop AC units and antennas. For year-round protection, many Utahns prefer the covered pergola: your guide to year-round patio enjoyment or a lattice-awnings-pergolas system that mimics the look of wood with the strength of Alumawood.
Overcoming Common Installation Challenges
No backyard is perfectly level, and that is the most common challenge in aluminum pergola installation.
Uneven Ground If your patio slopes away from the house (which it should for drainage), your posts will need to be different lengths to keep the roof level. Using adjustable post bases or cutting the aluminum posts to size on-site can solve this. Never try to “shim” a post with scrap wood; use proper structural leveling methods to avoid wobbly supports.
Misalignment If your frame is even a half-inch out of square, the louvers or roof panels won’t fit correctly. Always measure diagonally from corner to corner; if the two diagonal measurements are equal, your structure is square.
Utility Clearance Before you dig for those concrete piers, call 811. Hitting an underground power or gas line in Bountiful or Sandy will turn a fun weekend project into a dangerous and expensive disaster.
By choosing modern design and weather resistance, you’re already ahead of the game. Aluminum’s lightweight nature makes it much easier to adjust during installation than heavy timber. If you’re still debating materials, take a look at our guide from Alumawood to wood: unpacking pergola costs and material choices.
Frequently Asked Questions about Aluminum Pergolas
How long does it take to install an aluminum pergola?
For a standard 10×12 kit, aluminum pergola installation typically takes between 3 to 8 hours. If you are working with a crew of three people, you can often have it standing by lunchtime. However, custom projects with motorized louvers, integrated lighting, or large spans (like those over 20 feet) can take 1 to 2 full days. We see many pergola installation trends in Utah shifting toward these more complex, “smart” systems that require a bit more assembly time.
Do I need a permit for a patio cover or carport?
In most parts of Utah and Wyoming, yes—especially if the structure is permanent or exceeds a certain square footage (often 200 sq ft, but check local codes). HOA approval is also a major factor in communities like Alpine or Draper. Always check with local authorities to understand zoning requirements before you buy. Permanent carports almost always require a permit because they are classified as accessory structures.
How do I maintain my aluminum structure after installation?
This is the best part: aluminum is low maintenance. Unlike wood, you don’t need to sand, stain, or paint it every two years.
- Clean: Use a mild soap and a garden hose to rinse off dust and pollen once a month.
- Inspect: Twice a year, check the bolts to ensure they are still tight, especially after a heavy windstorm.
- Gutters: Keep the internal gutters clear of leaves to ensure proper drainage. For more tips, check out your guide to summer bliss with a custom pergola design.
Conclusion
A high-quality aluminum pergola installation transforms your backyard from a simple patch of grass into a functional, stylish oasis. Whether you are protecting a high-end BBQ island or providing a safe haven for your RV, the durability of Alumawood ensures your investment lasts for decades without the headache of constant maintenance.
At Awnings Unlimited, we take pride in being the Salt Lake City experts in structural outdoor shade solutions. From the Wasatch Front to the plains of Wyoming, our family-owned business has been dedicated to professional installation and customer satisfaction since 1976. We know the local codes, we understand the mountain weather, and we use the best materials in the industry.
Ready to upgrade your home? Transform your outdoor space today and let us help you design a structure that perfectly fits your lifestyle.