


Building a simple DIY patio cover is one of the most rewarding home improvement projects you can take on. It adds usable outdoor space, protects your furniture from UV damage, and can increase your home’s value — all without the cost of hiring a contractor.
Here’s what you need to know at a glance:
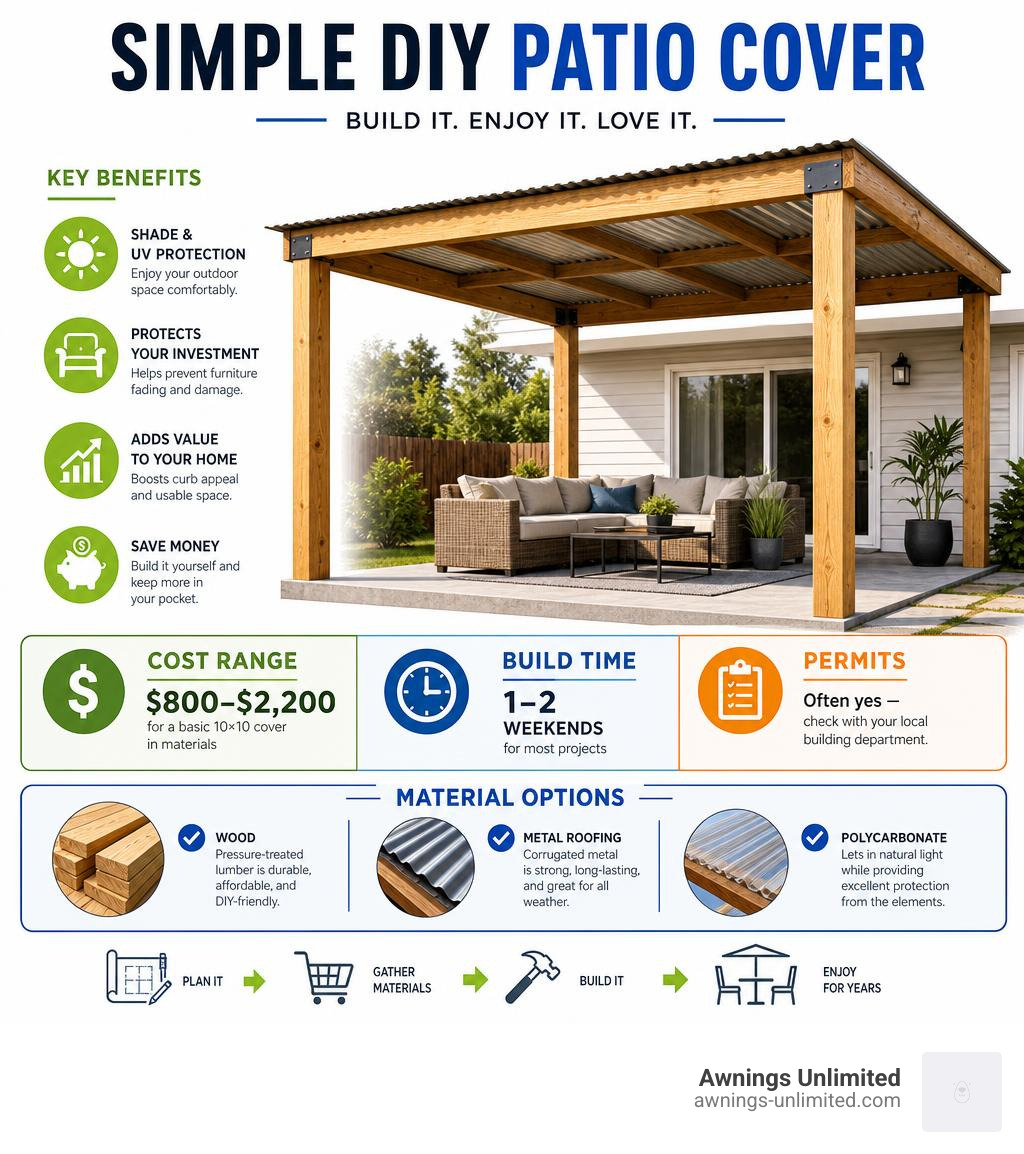
| What you want to know | Quick answer |
|---|---|
| How much does it cost? | $800–$2,200 for a basic 10×10 cover in materials |
| How long does it take? | One to two weekends for most projects |
| Do you need permits? | Often yes — check with your local building department |
| Best material for beginners? | Pressure-treated lumber with corrugated metal or polycarbonate roofing |
| Easiest style to build? | A freestanding cover with 4×4 posts and 2×6 beams |
A patio cover doesn’t have to be complicated. With basic tools, the right materials, and a clear plan, most homeowners — even with little construction experience — can build a solid, attractive structure that lasts for years.
That said, getting the details right does matter. Poor post spacing, skipped permits, or the wrong roofing material can turn a weekend project into a costly headache.
This guide walks you through everything: planning, materials, step-by-step building instructions, common mistakes, and how to keep your cover looking great long-term.
At Awnings Unlimited, we’ve been helping Utah homeowners create durable, beautiful outdoor shade structures since 1976 — and we know exactly what it takes to build a simple DIY patio cover that holds up through harsh winters and blazing summers alike. Whether you’re going the DIY route or want a professional touch, we’re here to help you get it right.
Planning Your Simple DIY Patio Cover
Before you buy your first piece of lumber or drive a single screw, you need a solid plan. Jumping into construction without careful preparation is a recipe for uneven structures, wasted materials, and unnecessary trips to the hardware store.
Proper planning starts with assessing your existing patio space. Is your concrete slab level and structurally sound? If you plan to anchor your support posts directly to a concrete patio, ensure there are no major cracks or erosion gaps beneath the surface. If you find gaps, you must repair them first to ensure a stable foundation.
Next, you need to measure your space carefully. Decide on the width, depth, and height of your cover. A standard, beginner-friendly size is 10 ft. x 10 ft. or 12 ft. x 12 ft. These dimensions allow you to use standard lumber lengths, which minimizes cutting and material waste. When measuring, always write down your dimensions and sketch a basic diagram of the structure.
To help visualize your options, check out our Patio Shade Solutions Complete Guide to see how different sizes and styles can fit your backyard layout.
Benefits of a Simple DIY Patio Cover
Why go through the effort of building a simple diy patio cover yourself? The benefits go far beyond just saving a bit of cash, though the financial savings are certainly a huge motivator.
- Substantial Cost Savings: By taking on the labor yourself, you can save anywhere from $1,000 to $5,000 on installation costs compared to hiring a professional contractor.
- Increased Outdoor Living Space: A cover essentially adds a new “room” to your home. It turns a hot, unusable concrete slab into a comfortable spot for family dinners, backyard barbecues, or your morning coffee.
- Furniture and UV Protection: Intense summer sun can fade and damage outdoor fabrics, crack wood furniture, and degrade plastics. A solid cover blocks harmful UV rays, extending the life of your outdoor investment.
- Improved Energy Efficiency: By shading the windows and doors adjacent to your patio, a cover blocks direct sunlight from entering your house. This keeps your indoor living spaces cooler and can lower your air conditioning bills during hot Utah summers.
If you are ready to expand your usable space, read more about how to Build Outdoor Covered Area spaces that match your lifestyle.
Choosing the Right Style for Your Simple DIY Patio Cover
There are three primary styles of simple patio covers: freestanding covers, lean-to (attached) covers, and attached pergolas.
- Freestanding Patio Covers: These structures stand entirely on their own support posts and do not attach to your home. Because they do not require complex structural connections to your house’s framing, they are highly recommended as the easiest and most beginner-friendly style.
- Lean-To (Attached) Covers: These covers attach to your home on one side (using a ledger board) and are supported by posts on the other. They offer excellent weather protection right at your back door, but they require precise leveling and secure fastening to your home’s wall studs.
- Attached Pergolas: These open-air structures feature crossbeams or slats instead of a solid roof. They offer a beautiful, rustic aesthetic and partial shade, but they do not protect against rain or snow unless you add a secondary canopy.
For beginners, we highly recommend a freestanding cover. It avoids the risk of damaging your home’s siding or roofing and simplifies the building process. For more layout inspiration, check out Your Backyard Oasis Awaits Creative Covered Area Ideas.
Materials and Costs for Patio Covers
Your choice of materials directly impacts your project’s cost, durability, and long-term maintenance. Let’s look at the most common options:
- Pressure-Treated Wood: This is the most affordable and widely available structural material. It resists insects and rot, making it ideal for support posts and framing. However, it requires regular staining or sealing to prevent warping and cracking over time.
- Cedar and Redwood: These natural woods are beautiful, aromatic, and naturally resistant to rot and insects. They look stunning but are significantly more expensive than pressure-treated pine.
- Alumawood (Wood-Grained Aluminum): If you want the rustic look of wood without any of the maintenance, Alumawood is an incredible modern alternative. It won’t peel, warp, rot, or attract termites, making it a highly durable choice for our local climate.
- Polycarbonate Panels: Lightweight and impact-resistant, polycarbonate panels are perfect for roofing. They block UV rays while still allowing natural light to filter through, keeping your patio bright but cool.
- Corrugated Metal: An affordable, highly durable roofing option that provides complete shade and holds up exceptionally well against heavy snow loads along the Wasatch Front.
To help you budget, here is a cost comparison for a standard 10 ft. x 10 ft. patio cover using different materials:
| Material Type | Estimated Material Cost | Maintenance Level | Lifespan |
|---|---|---|---|
| Pressure-Treated Wood + Polycarbonate | $800 – $1,500 | Medium (requires sealing every 2 years) | 10–15 Years |
| Cedar / Redwood + Metal Roofing | $1,500 – $2,500 | High (requires regular staining) | 15–20 Years |
| Alumawood / Aluminum Kit | $3,500 – $5,000 | Low (virtually maintenance-free) | 25+ Years |
For more budget-friendly inspiration, explore our guide on Cheap Patio Roof Ideas to find the perfect balance of cost and style.
Essential Tools and Safety Equipment
You don’t need a professional workshop to build a simple diy patio cover, but having the right tools on hand will make the job much easier. Here is your essential checklist:
Required Tools:
- Hammer Drill & Masonry Bit: Essential for drilling into concrete to secure post anchors.
- Circular Saw or Miter Saw: For clean, accurate cuts on your lumber.
- Spirit Level (at least 4 feet long): To ensure your posts are perfectly plumb and your beams are level.
- Socket Wrench Set: For tightening heavy-duty concrete anchors and lag screws.
- Measuring Tape & Chalk Line: For accurate layout and squaring.
- Clamps & Temporary Bracing Boards: To hold heavy beams in place during assembly.
Safety Equipment:
- Safety Glasses: Protect your eyes from flying sawdust and metal shavings.
- Work Gloves: Prevent splinters and protect your hands when handling rough lumber.
- Dust Mask: Wear this when cutting pressure-treated wood or drilling concrete.
Step-by-Step Guide to Building a Freestanding Cover

Now that you have your tools, materials, and plans ready, it is time to build! This step-by-step guide covers the construction of a basic, freestanding 10×10 wood patio cover with a sloped roof for drainage.
For additional structural layouts and alternate designs, you can also consult this detailed How to Build a Freestanding Patio Cover: Step-by-Step Guide – HelpWithDIY .
Step 1: Layout and Post Footings
The foundation is the most critical part of your build. If your posts aren’t square and level, the rest of the structure will be misaligned.
- Mark the Corners: Use batter boards and string lines to outline the four corners of your cover.
- Square the Layout: Use the 3-4-5 rule to ensure your corners form perfect 90-degree angles. Measure 3 feet along one string line and 4 feet along the perpendicular line. The diagonal distance between those two points must be exactly 5 feet. Double-check by measuring the diagonals of the entire 10×10 square; they should be equal.
- Set the Anchors: If you are building on an existing concrete pad, use a hammer drill and a masonry bit to drill holes for your heavy-duty metal post anchors (such as Zmax 4×4 anchors). Drive concrete sleeve anchors into the holes and tighten them securely with a socket wrench.
- Alternative (Ground Footings): If you are building on dirt or grass, dig holes that are 3 feet deep and 12 inches in diameter (always check local building codes for frost line depth in Northern Utah). Pour concrete into the holes, set your post anchors, and let the concrete cure completely before proceeding.
For details on anchoring to different surfaces, read our guide on Concrete Patio Covering Options.
Step 2: Framing and Rafters
Once your anchors are secure, you can erect your posts and assemble the main frame.
- Plumb and Secure the Posts: Cut your 4×4 support posts to height, keeping in mind that you want a slight slope (about a 5-degree angle or a 1:12 pitch) for roof drainage. Place the posts into the metal anchors. Use a spirit level to make sure they are perfectly plumb (vertical) in both directions. Secure them with temporary wood braces screwed into stakes in the ground.
- Attach the Beams: Lift your 2×6 support beams into place at the top of the posts. Secure them using heavy-duty carriage bolts or structural lag screws. Tip: Having a helper for this step makes lifting and clamping the heavy beams much safer and easier!
- Install the Rafters: Cut your 2×6 rafters to length. Space them evenly — typically 24 inches on center (or 16 inches on center for areas with heavy snow loads like Park City or Heber City). Secure the rafters to the beams using metal rafter hangers and structural screws.
For visual inspiration on framing techniques, you can refer to the construction steps outlined in How to Build a DIY Covered Patio .
Step 3: Installing the Roof Panels
With your frame fully assembled and braced, you are ready to install the roof.
- Add Purlins (Optional but Recommended): If you are using lightweight polycarbonate or corrugated metal panels, install 2×4 purlins horizontally across your rafters, spaced 24 inches apart. This provides a solid nailing surface for the panels.
- Lay the Panels: Start at the lower edge of the slope and work your way up. Overlap the panels by at least one full wave (or roughly 7 inches for flat polycarbonate sheets) to prevent water leaks.
- Fasten the Roofing: Use self-drilling roofing screws equipped with rubber washers. Drive the screws through the high points of the corrugated waves every 12 inches along the purlins. Do not overtighten, as this can crush the panels and cause leaks.
For a helpful video walkthrough of the roofing installation process, watch this Budget Friendly DIY Patio Cover – YouTube tutorial.
Common Mistakes to Avoid and Permit Requirements
Even experienced DIYers can run into trouble if they overlook key structural rules. Here are the most common mistakes we see, and how you can avoid them:
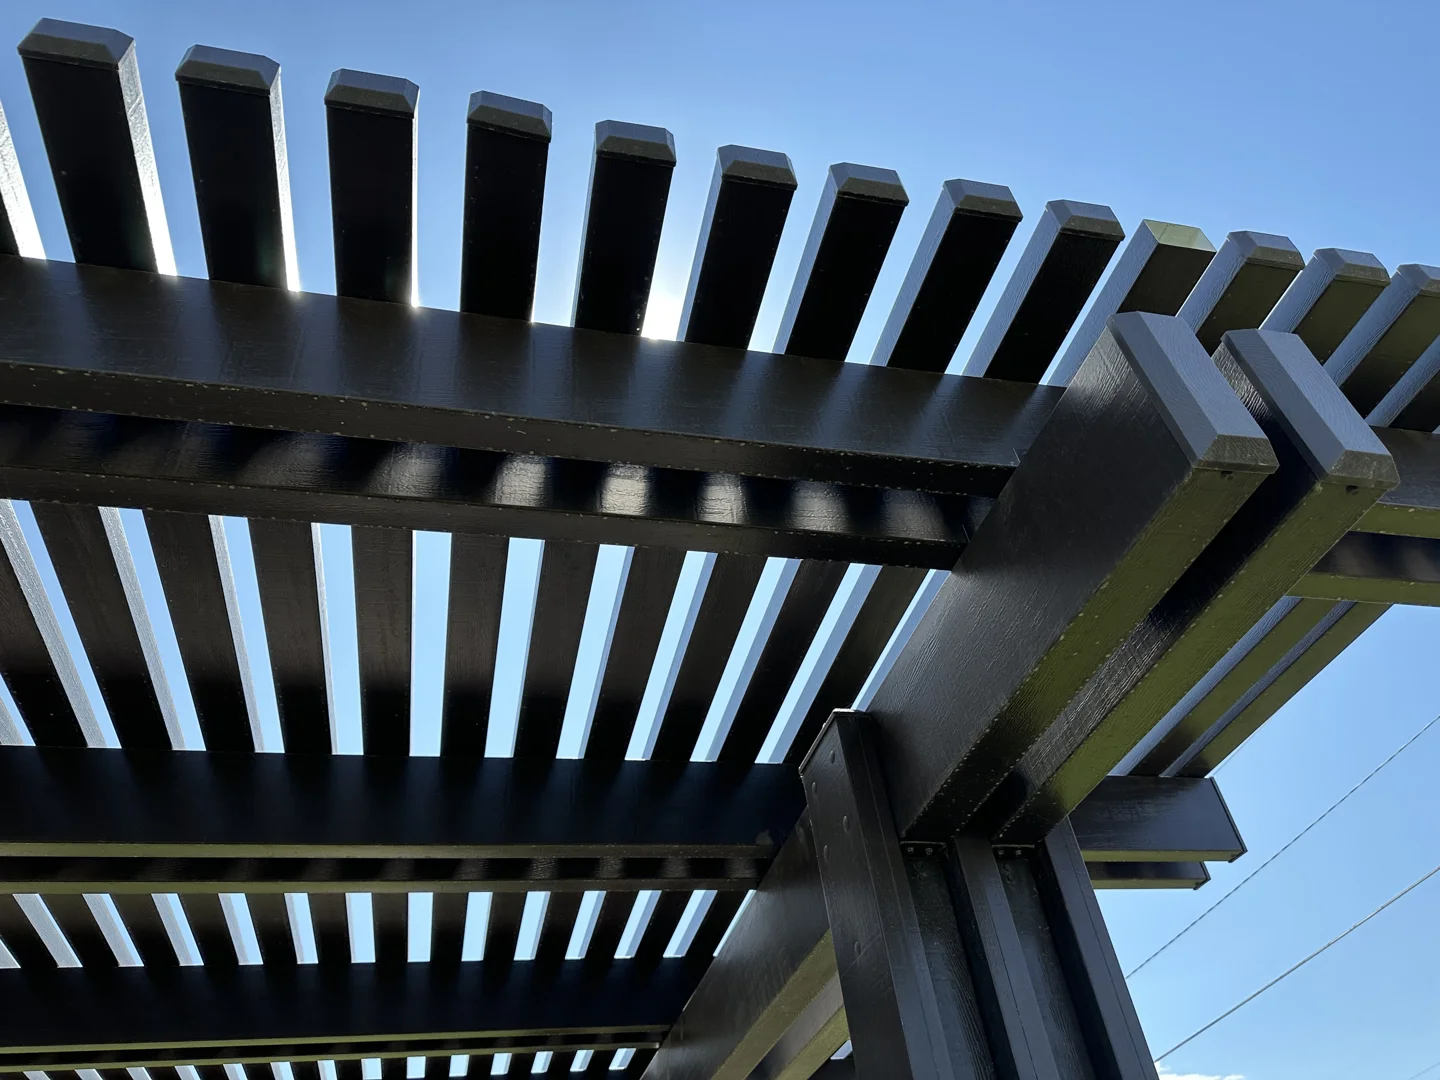
- Inadequate Bracing: A tall structure with a heavy roof will sway in strong winds if it lacks diagonal bracing. Always install 45-degree knee braces between your posts and beams to stabilize the frame.
- Ignoring Snow and Wind Loads: In Utah and Wyoming, snow loads are a major structural concern. Spacing your rafters too far apart or using flimsy roofing materials can lead to structural failure during a heavy winter storm. Ensure your design is rated for local snow load requirements.
- Failing to Check for Square: If you don’t square your posts during Step 1, your roofing panels won’t align properly, leaving you with uneven overhangs and potential leaks.
Do I Need a Permit?
In most municipalities along the Wasatch Front, yes, you will need a building permit for any permanent outdoor structure.
Even a simple DIY patio cover must comply with local setback rules (how close the structure can be to your property line) and structural engineering standards. Before you buy materials, call your local permit office. They can tell you exactly what documentation is required. Building without a permit can result in fines, issues when selling your home, or even being forced to tear down your hard work.
If you are looking for a simplified, pre-engineered alternative that often comes with permit-ready engineering plans, read our DIY Patio Cover Kits Complete Guide to see if a kit is right for you.
Frequently Asked Questions about Patio Covers
Do I need a building permit for a DIY patio cover?
Yes, in most Utah and Wyoming cities, a building permit is required for permanent patio covers. Some small, freestanding structures under 120 or 200 square feet may be exempt from permits, but setback rules and height restrictions still apply. Always call your local building department first.
What is the cheapest way to cover a backyard patio?
The most budget-friendly permanent option is building a freestanding wood frame using pressure-treated lumber and covering it with corrugated metal or polycarbonate panels. This can often be completed for under $1,000 in materials. For more affordable ideas, check out our Cheap Patio Extension Ideas Guide.
How do you maintain and protect a DIY patio cover?
For wood covers, apply a high-quality exterior stain or sealant every 2 to 3 years to prevent moisture damage and UV graying. For metal or Alumawood structures, maintenance is minimal — simply wash them down with a garden hose once a season and clear away fallen leaves or heavy snow accumulation.
Conclusion
Building a simple DIY patio cover is an excellent way to transform your backyard, protect your outdoor furniture, and create a comfortable oasis for your family. By carefully measuring, choosing the right materials, and following proper structural steps, you can create a beautiful addition to your home that lasts for decades.
However, we know that heavy lifting, concrete drilling, and navigating local building permits isn’t for everyone. If you’d rather spend your weekend relaxing while the professionals handle the hard work, Awnings Unlimited is here for you.
Since 1976, our family-owned business has installed premium, durable Alumawood patio covers, custom structural awnings, and carports across Salt Lake City, the Wasatch Front, and parts of Wyoming. We handle everything from custom design and permitting to professional, worry-free installation.
Ready to explore your options? Check out our Patio Cover Builder Complete Guide or contact us today to schedule your custom shade consultation!