


Why an Awning Attached to a Fence Is a Smarter Way to Shade Your Backyard
Having an awning attached to a fence is one of the most space-efficient ways to add shade, privacy, and weather protection to your outdoor living area — without giving up valuable yard space.
Here’s how to attach an awning to a fence:
- Measure your fence posts — note the spacing between posts and confirm the fence material can bear the load.
- Mount heavy-duty brackets — use stainless steel L-brackets secured to fence posts with exterior-rated galvanized screws.
- Attach the awning frame — bolt the frame to the brackets and ensure it slopes 10–15 degrees for water runoff.
- Secure the cover panels — attach the structural panels or solid cover material securely to the frame.
- Test for stability — check all connections and ensure the structure is rigid before use.
If you’ve ever watched a backyard umbrella tip over in a summer breeze — or watched the sun bake your patio furniture into oblivion — you already know the problem. Portable shade solutions fail when you need them most. A fence-mounted awning solves that by turning an existing boundary structure into a permanent shade anchor, with zero additional footprint in your yard.
Over 60% of homeowners who install fence-mounted structural awnings say privacy and sun protection are their top reasons for doing so — and it’s easy to see why. A well-installed structural awning can drop backyard temperatures by up to 20°F on peak summer days, making the difference between an unusable hot slab and a genuinely comfortable outdoor room.
At Awnings Unlimited, we’ve been designing and installing structural awnings and patio covers across Northern Utah since 1976 — including custom solutions for homeowners looking to get the most out of an awning attached to a fence. We know what works, what lasts, and what the Utah climate will put your setup through.
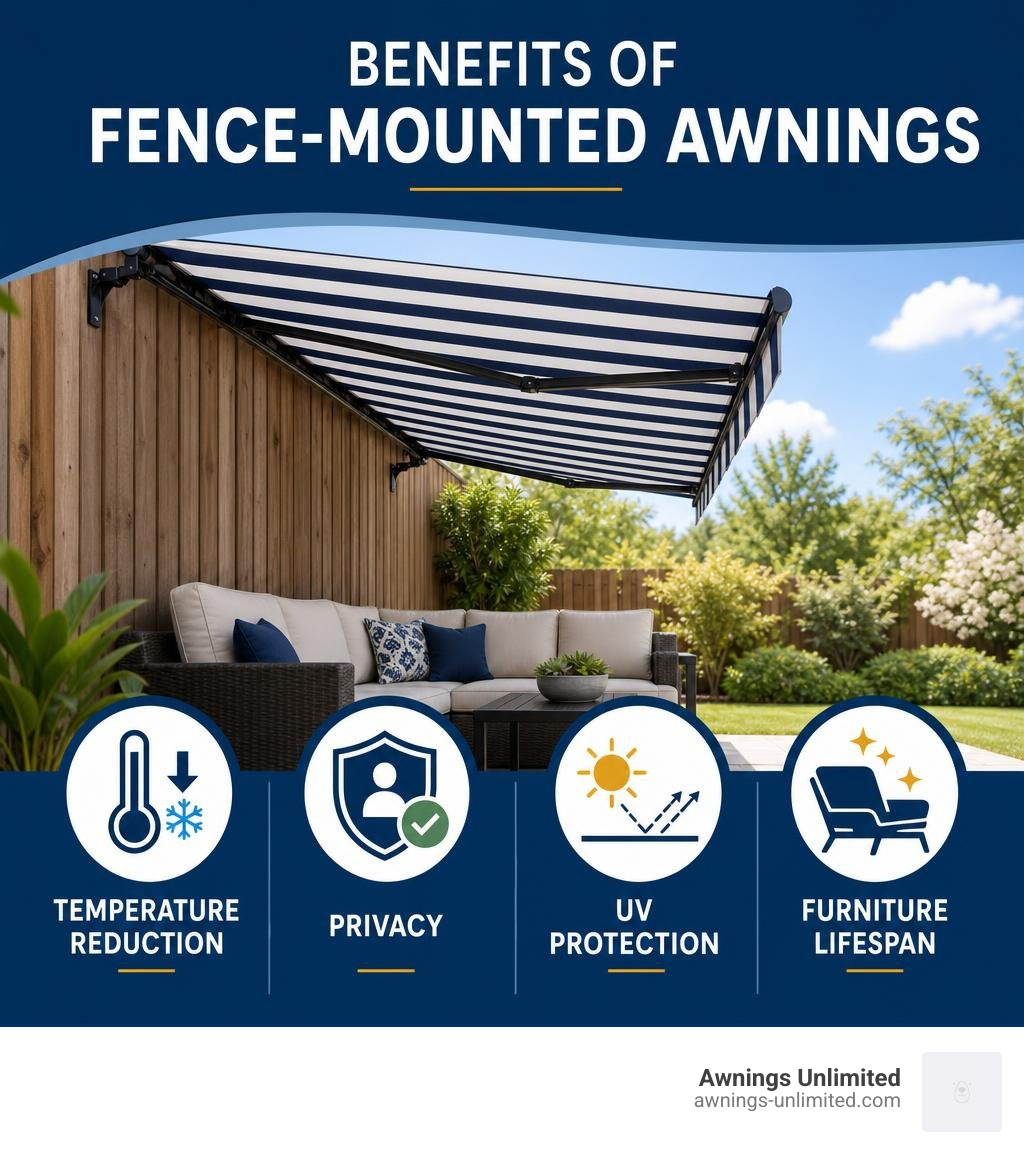
Benefits of an Awning Attached to Fence
When you are looking to maximize your outdoor living potential, every square foot of your backyard matters. Traditional shade structures like pergolas, gazebos, or heavy freestanding umbrellas require bulky base weights or heavy ground posts that eat up valuable real estate.
By utilizing an awning attached to a fence, you bypass this footprint problem entirely. This smart, vertical-surface solution offers several key benefits:
- 35% Increase in Usability: According to real-world homeowner surveys, mounting a structural cover to your fence line immediately boosts the functional layout of smaller yards and patios. It frees up walkways and leaves plenty of room for dining tables, grills, or kids’ play zones.
- Up to 20-Degree Temperature Reduction: On blistering July afternoons in places like Salt Lake City or Provo, unshaded concrete acts like a radiator. A solid-top, fence-mounted canopy intercepts those harsh UV rays before they hit your patio, lowering the ambient temperature of your seating area by up to 20°F.
- Enhanced Privacy and Comfort: Over 60% of surveyed homeowners cite privacy as a leading driver for their installation. Fences block ground-level views, but a sloped awning blocks the sightlines from two-story neighbor windows, giving you a cozy, secluded outdoor sanctuary.
- 30% Longer Furniture Lifespan: High-elevation UV rays and unpredictable Utah weather can dry out, fade, and crack expensive patio cushions and wooden outdoor sets. Shielding your investment under a durable canopy extends the lifespan of your outdoor furniture by roughly 30%.
To learn more about how a high-quality shade structure can completely revitalize your property, take a look at our guide on Transform Your Outdoor Space: The Benefits of Home Awnings.

Material Compatibility and Structural Requirements
Before you run out to buy mounting brackets, we need to talk about structural physics. An awning is essentially a giant sail. When wind gusts sweep through the Wasatch Front, they exert massive upward and downward forces on whatever structure the awning is anchored to.
To ensure your installation is safe, secure, and permanent, you must evaluate your existing fence material.
| Fence Material | Compatibility | Recommended Attachment Method | Structural Notes |
|---|---|---|---|
| Wood (Heavy Timber / 4×4 Posts) | Excellent | Direct lag-screw mounting into structural posts | Highly stable; must inspect for rot or insect damage first. |
| Vinyl / PVC | Moderate to Poor | Aluminum or wood post inserts with through-bolts | Vinyl alone will crack under load; requires internal metal reinforcements. |
| Aluminum / Steel Posts | Good to Excellent | Heavy-duty collar clamps or direct metal-tapping bolts | Outstanding shear strength; ensure posts are deeply set in concrete. |
| Chain Link | Specialty Only | Top-rail U-brackets or custom frame clamps | Only suitable for lightweight, engineered structural frames. |
No matter your fence type, you should never mount heavy structural frames directly to thin fence slats or pickets. The load must always be distributed directly to the main vertical fence posts. For an in-depth look at how different materials and frame styles interact under real-world loads, read through our Custom Outdoor Awnings Complete Guide.
Selecting the Right Awning Attached to Fence for Wood Fences
Wood fences with sturdy 4×4 or 6×6 posts are the absolute best candidates for a DIY fence-mounted awning. Because wood is dense and structurally sound, it can easily handle the shear and pull-out forces of a moderate-sized structural awning.
When prepping a wood fence, always locate the center of the vertical posts. You will want to use heavy-duty, hot-dipped galvanized or stainless steel lag screws (minimum 3/8-inch diameter) that penetrate at least 3 inches into the solid meat of the post. Avoid driving screws into the horizontal fence rails unless they are reinforced, as rails can sag under continuous vertical loads. For more advice on choosing the perfect style for your wood-framed setup, check out our resource on Choosing the Right Awning for Your Home.
Selecting the Right Awning Attached to Fence for Metal and Vinyl Fences
Vinyl fences look beautiful and require virtually zero maintenance, but they are hollow. Bolting an awning directly to a vinyl post will cause the plastic to crush, warp, or crack during the first heavy windstorm.
To safely attach an awning to a vinyl fence, you must use heavy-duty steel or aluminum inserts inside the vinyl posts. Alternatively, you can use specialized brackets that clamp around the post, distributing the pressure evenly rather than relying on a single screw hole.
For metal fences (such as ornamental iron or industrial chain link), your best bet is to use custom metal U-brackets or collar clamps that wrap around the posts. This ensures a metal-on-metal grip that won’t slip or strip over time. Discover more design-specific mounting solutions in our article, The Perfect Awning for Your Home and How to Find It.
Step-by-Step DIY Installation Guide
If you are a handy homeowner with a solid set of tools, installing a basic fence-mounted cover is a highly rewarding weekend project. However, precision is key. A minor mathematical error can lead to a crooked frame, poor water drainage, or structural failure.
Before you begin, gather the following essential tools:
- Laser level or 4-foot bubble level
- Power drill with high-quality wood/metal drill bits
- Socket wrench set
- Heavy-duty clamps
- Measuring tape and chalk line
- Stainless steel AISI 304 mounting brackets
- Exterior-rated galvanized lag bolts or structural screws
For a detailed look at how a real homeowner successfully tackled this project to beat intense heat, you can read this real-world case study on a Fence Mounted Awning: The Real-World Solution I Installed to Beat the Sun and Save My Backyard.

Step 1: Planning and Measuring Post Spacing
Do not guess where your brackets should go. Measure the center-to-center distance of your fence posts exactly. Most residential fences feature posts spaced 6 to 8 feet apart. Your awning frame must be designed to align precisely with these structural centers. Use a chalk line or a laser level to mark a perfectly straight horizontal line across the posts where the brackets will sit.
Step 2: Mounting Heavy-Duty Brackets
Position your stainless steel L-brackets or custom post clamps on your marked level line. Before drilling, double-check that there are no hidden electrical conduits or irrigation lines running along or behind your fence. Drill pilot holes slightly smaller than your lag bolts to prevent the wood posts from splitting. Secure the brackets tightly, using washers to distribute the pressure, and verify that every single bracket is perfectly plumb and level.
Step 3: Securing the Structural Frame and Panels
With the help of a friend (do not try to lift a structural frame alone!), hoist the structural awning frame onto the mounted brackets. Loose-fit the bolts first, allowing you to make minor adjustments.
Once the angle is perfect, tighten all structural bolts, secure the structural panels or solid cover material evenly across the frame, and lock them in place according to the manufacturer’s instructions.
Maintenance, Regulations, and Cost Comparisons
Once your awning is securely mounted, a little bit of preventative care will keep it looking brand new for years to come. In Northern Utah and Wyoming, our weather can swing from hot, dry summers to heavy, wet winter snows.
To protect your investment, we recommend a simple maintenance schedule:
- Clear Off Debris: Use a soft-bristle broom or a garden hose to clear away fallen leaves, twigs, and dirt every spring and autumn.
- Inspect the Hardware: Once a year, grab your wrench and check the mounting bolts on your fence posts. Wood can swell and shrink with seasonal humidity, which can occasionally loosen hardware.
- Prep for Winter: For structural covers, ensure they are rated for local snow loads, and clear heavy accumulation promptly. Wet snow is incredibly heavy, and leaving excessive snow on a structural patio cover can put undue stress on your fence posts.
Beyond physical maintenance, you must also consider local regulations. Many Homeowners Associations (HOAs) in communities like South Jordan, Draper, and Eagle Mountain have strict guidelines regarding the height, color, and placement of backyard structures. Always submit a quick design request to your HOA before installing.
Additionally, check your local city building codes regarding property lines. Fences usually sit directly on property boundaries. Because an awning projects outward, you must ensure your new shade structure does not overhang your neighbor’s yard or violate local setback rules.
For inspiration on beautiful, compliant designs that blend seamlessly into your landscape, check out the Awning Attached to Fence ideas on Pinterest and explore our advice on Custom Patio Covers: Designs to Suit Your Style and Needs.
Preventing Structural Damage and Water Pooling
The absolute biggest enemy of any flat structural cover is water pooling. If your structural awning does not have a steep enough slope, heavy rain or melting snow will collect on the panels, putting immense stress on your fence posts. Always maintain a minimum 10-degree slope to ensure proper runoff and prevent structural strain.
To discover advanced tips on structural integrity and maximizing the life of your shade systems, read our comprehensive guide on how to Maximize Your Outdoor Living with a Custom Patio Cover.
Cost Analysis of Fence-Mounted vs. Freestanding Options
When budgeting for backyard shade, a fence-mounted awning is incredibly cost-effective. Because you are utilizing an existing structure (your fence) as the main support system, you save significantly on materials and labor.
- Fence-Mounted Awning: Typically ranges from $300 to $1,500 for DIY kits and mid-range professional installations. There is no need to dig post holes, pour concrete footings, or buy expensive heavy-duty support columns.
- Freestanding Pergolas or Gazebos: These structures often cost between $2,000 and $7,000+. They require extensive ground prep, post-hole digging below the frost line, concrete, and significantly more building materials.
- House-Mounted Patio Covers: Excellent for large spaces, but can cost anywhere from $2,500 to $10,000+ depending on size, roofing materials, and whether you need to tie directly into your home’s roofline or ledger board.
To compare your options and see which investment makes the most sense for your home, take a look at The Ultimate Guide to Custom Patio Covers and check out our favorite Patio Cover Ideas: Ultimate Guide.
Aesthetic Integration with Your Landscape
Your backyard should feel like a cohesive extension of your home. When adding an awning attached to a fence, choose colors and materials that complement your existing landscape.
If you have a modern dark-stained wood fence, a black or charcoal aluminum frame with matching structural panels looks incredibly sleek. If you prefer a classic, maintenance-free look, Alumawood covers offer the gorgeous texture of real wood with the lifetime durability of aluminum.
By matching the architectural style of your home and fence, your new awning will look like an intentional, high-end design feature rather than a cheap afterthought. For more styling inspiration, read our Custom Shade Solutions Complete Guide.
Frequently Asked Questions about Fence-Mounted Awnings
Can you attach a heavy structural patio cover directly to a fence?
Generally, attaching a heavy structural patio cover directly to a standard residential fence requires careful planning. Structural covers exert continuous downward and wind-load forces on their mounting points. Unless your fence posts are heavy-duty columns anchored deep in concrete, you should opt for lightweight structural designs or add auxiliary support posts to share the load safely.
Do I need a permit to install an awning on my fence?
In most Northern Utah cities (like Salt Lake City, Ogden, or Sandy), minor, non-permanent shade structures under a certain square footage (usually 120 to 200 square feet) do not require a formal building permit. However, because fences often sit directly on property lines, you must ensure your awning does not violate local setback codes or cross over into your neighbor’s airspace. Always check your local city zoning office and your HOA guidelines before starting.
How do fence-mounted structural awnings handle high winds?
Fixed-frame, professional structural fence awnings handle moderate winds exceptionally well when mounted to sturdy wood or metal posts. However, during severe windstorms or high-velocity gusts along the Wasatch Front, any solid cover can experience heavy uplift. To prevent damage, always ensure your installation is securely anchored, or choose a solid-top Alumawood option engineered to handle local wind-load requirements.
Conclusion
Adding an awning attached to a fence is a fantastic, cost-effective way to reclaim your backyard from the scorching summer sun. By utilizing your existing fence line, you save valuable patio space, lower outdoor temperatures by up to 20°F, and create a private, comfortable oasis for your family.
While a basic installation can be a fun DIY weekend project, getting the perfect fit, proper wind-load ratings, and long-lasting durability often requires a professional touch — especially with the unique weather patterns we experience here in Utah and Wyoming.
If you are ready to transform your backyard into the ultimate outdoor living space, we are here to help. At Awnings Unlimited, we have spent the last five decades helping homeowners across Salt Lake City, the Wasatch Front, and beyond find the perfect shade solutions.
For more tips on designing your dream yard, read our guide on Outdoor Living Spaces: Ultimate Guide. If you’re ready to explore custom options built to last a lifetime, Get Professional Shade Solutions from Awnings Unlimited today!